Why- kea?
Fri 04 Sep 2020No, it's not an isolated island in the Pacific.
I have been into Ikea stores perhaps 3 times in my life - how far is that complete walk thru anyway? It does feel like 10 kilometres and unlike "Snakes and Ladders" there is no means of skipping ahead to the exit. I have looked - there are no snakes, and few ladders. The ladders only take you to a quilt covered top bunk with no portal to the car park. So disappointed.
But I digress from the main point of this article.
Ikea furniture is rubbish. For the most part it's particle board, plugs and veneers to give the pretence of style.
Let me explain.
Born of Covid and need, a recent project with my girlfriend has become a genuine small enterprise in volume desk making and the most recent Q Desk v1.2 is arguably more attractive than an Ikea Kullaberg, certainly stronger and cost just $120 compared to the Ikea Kullaberg priced at $199.
This desk building project came about after a scour of the options for in-expensive desks for boarders in rental rooms. While Facebook "Market Place" so often provides, 2nd hand desks seem to all come with stains, chips and bits missing, nevermind their being past used-by-date.
Online shopping as we all now do, the regular furniture retailers were surveyed and with most Australian furniture stores now up-market, budget furniture is then the domain of Ikea and really questionable ebay sellers.
So it was off to Bunnings to see what could be achieved for $150 and the results will surprise you. The very desk I am sitting at now cost just $125 and it's fab-o, strong, stylish and comes with the puff chest sense-of-achievement of having made it yourself... or in my case watching from the safety of lounge consulting at a distance while your girlfriend puts it together
Here's what you will need.
DIY Student Study desk ingredients
2 x
1800 x 450 x 18mm Clear Pine FJ Laminated Panel
1 x
1200 x 596 x 7mm BC Radiata Plywood
5 x
Carinya 40 x 40 x 200 x 1mm Make-A-Bracket
1 x
Buildex 8-15 x 15mm Zinc Plated Button Head Screws - 100 Pack
1 x
Zenith 8G x 32mm Gold Passivated Button Head Metal Screws - 100 Pack (you could use counter-sunk screws for a slightly more attractive finish, but I like the load distribution you get from the button heads)
1 x
Bondall 1L Monocel Waterbased Clear Varnish Gloss
DIY Student Study Desk Method
1. Don't leave bunnings just yet. You might not know it but they will do basic wood cuts for FREE! So while you are paying line up one of the team to do some wood cutting for you.
2. Give them one of your 1800 Pine Panels ask for them to cut it down to 2 x 750 mm lengths
3. Give them the other Pine Panel and have them trim 180 mm off one end
4. Pile everything into the car and relocate it to your living room.
5. Preferably with the help of someone stand the longest length, which is your desktop, on it's long edge
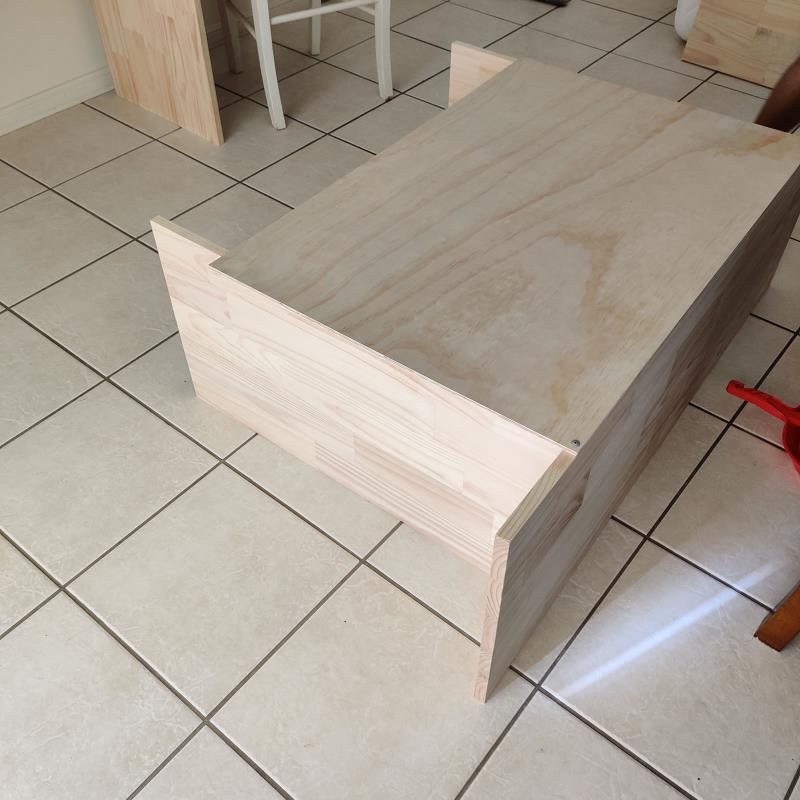
6. Take the two 750mm lengths and stand on their long edge perpendicular to the desktop at the places where you want the legs to be. We choose to put them equal distance from the ends for the elegance of symmetry.
7. The ply panel has a job to do as what is known as "bracing" ... and it will be screwed to the thin edge of the legs and desktop. It has another important job to do as it will ensure that you end up with everything at right angles! Lay it with precision and adjust the leg lengths to exactly align under the short edge of the ply, with the long edge of the ply lying along your desktop edge... with no overhang anywhere you are good to go!
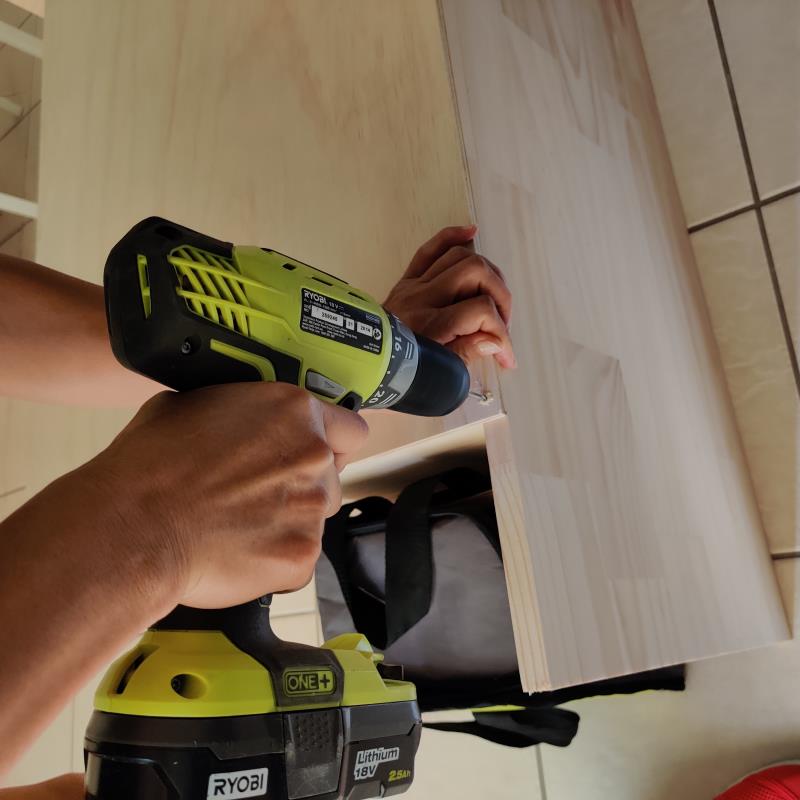
8. With everything in place and precision, pre-drill lots of holes (10 in the long edge and 5 down each leg) through the ply and into the pine, being sure to drill down exactly into the pine. NOTE: you might think you can just drive your screws through the ply and pine, but I promise you the pine will split and ruin everything.
9. Now use the 32mm screws to attach everything together. Wow, you are almost done.
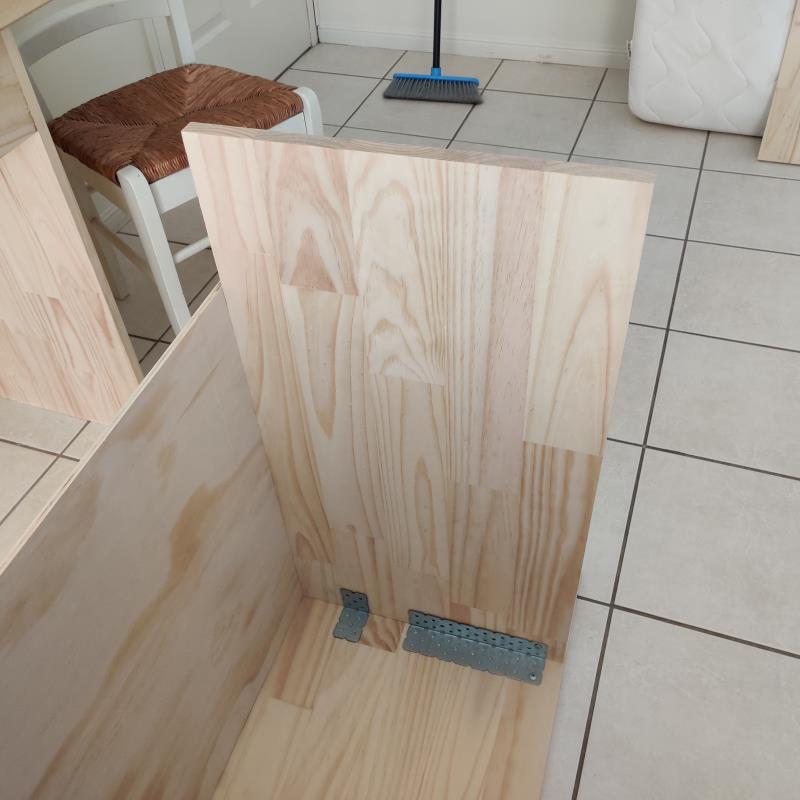
10. Make sure everything is sitting square with precision before using 2 of the angle brackets at the edge between leg and desktop (you could use one, but for 3 bucks why would you skimp...) and use lots (perhaps 20) 15mm button head screws on each bracket to fasten the legs to the desktop. Now things are getting really rigid.
You could actually stop assembly at this time but we will put on a shelf for extra points.
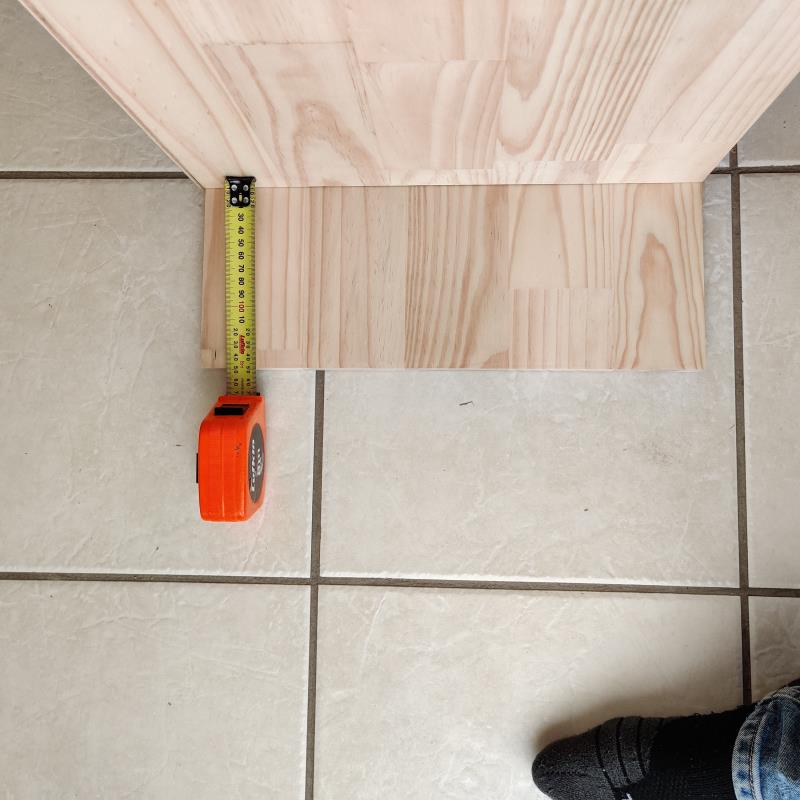
11. Take your leftover 300mm pine length and the other bit, perhaps hand sawing it to be 150mm
12. Stand them at right angles and pre-drill 5 or so holes through the standing piece to the piece lying flat and screw in some more of your 32mm screws to hold them together really well. Once again precision counts.
13. Have someone hold the shelf in place, and I mean exactly in place and pre-drill at least 5 holes through the outside of the leg into the shelf base.
14. Attach with 32mm screws and keep held in place while you
15. Do the final step in the assembly and use the last angle bracket and 15mm button heads to fasten the vertical piece of the shelf to the underside of the desktop.
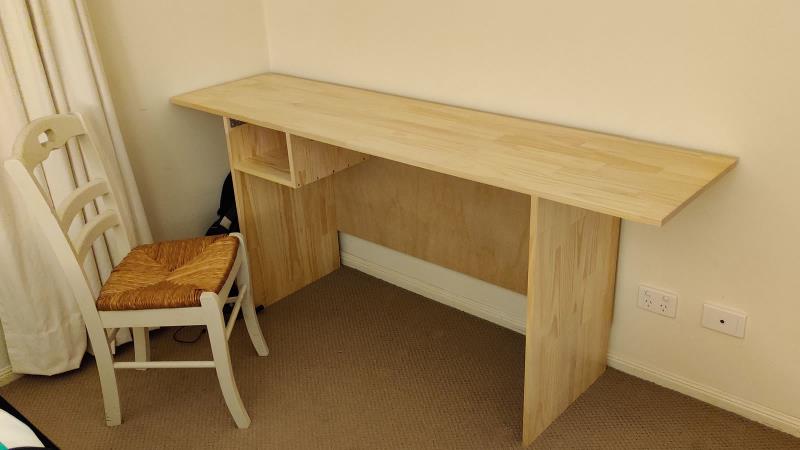
Look what you have done! If you have worked with absolute precision and used all the screws, you now have a fabulous, strong, attractive piece of furniture that will be an ideal study desk. Lean on it a bit and you will see that the ply bracing and even the shelf have created rigidity beyond the Why-kea particle board option. The use of lots of screws and the brackets make for a lot of strength by using lots of low strength to make the sum total.
Finally step 16 is to slap on two coats of clear varnish to make the desk ready for the use, years of wear and tear and coffee cup rings.
You're a champion and sitting at your new Q v1.2 desk